Using eclipse IDE for dbt development

Which IDE to use is often a personal preference, and while many of us may argue the virtues of one over another… Often it’s about “the one I know”, or “the one I have access to”. Many developers chose Visual Studio Code for dbt work (for many good reasons). I find myself returning to the familiar interface of eclipse (after working with it using numerous languages and plugins over the years).
This is how to get started with eclipse as an IDE for dbt projects, for anyone who wants to give it a go.
Why I use eclipse
Most of it is personal preference and familiarity, but some things I like about it are:
- The git integration and compare tools (or diff functionality with files outside of git) are very rich and intuitive.
- It supports many languages (in a past life I started using it for java, then PHP, shell scripts, python and now dbt).
- It’s great for debugging python and inspecting elements during debugging (not a great one for dbt yet, but valuable for other projects I work on)
- It has a great set of plugins/extensions for most things you can think of.
- I like how it separates workspaces, so projects (or collections of them) can be organised as I wish.

Configuring & using eclipse for dbt projects
Once you have installed eclipse (from their website, or your package manager of choice), the first thing it asks you to do is create a workspace (this is a way of having a collection of projects all in one place).
Environment & plugins
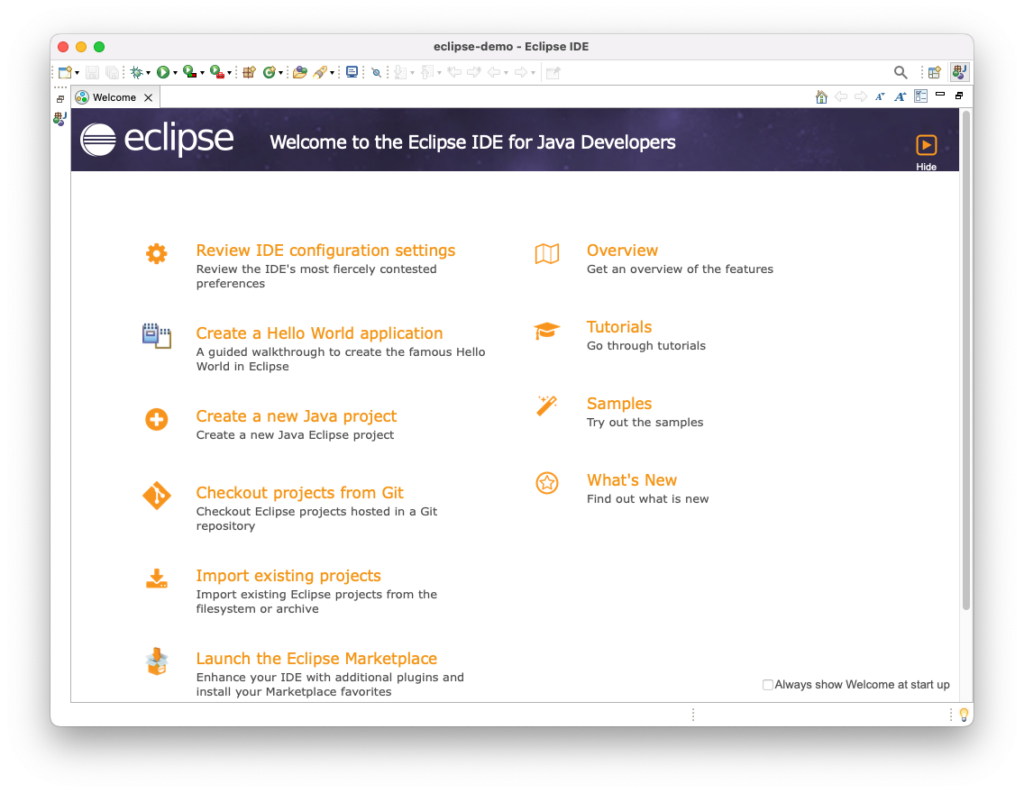
Once you enter into a new workspace, you are faced with the welcome screen, before we do anything else it’s good to get some plugins installed that we will use.
Go to the Help menu, and select “Eclipse Marketplace”, you can then search within it for plugins to install.
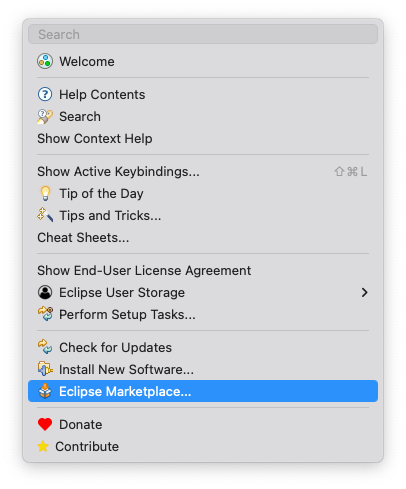
The website for the eclipse marketplace is easy to navigate, if you sign up for an account you can save favourites (which helps if you forget the name of your favourite occasional extension).
The key extensions I use when working with dbt projects are:
- Yaml Editor – Handy for those configuration files
- LiClipseText – There are few file types this won’t manage to do syntax highlighting for
- SQL Editor – A few extra bits for editing SQL files
It will ask to restart a couple of times during this process, be patient and remember that this isn’t a frequent requirement once up and running.
Add SSH private keys to eclipse (for GitHub integration)
If you are using GitHub, then you will want to do this step early on.
- Open Eclipse Preferences
- Navigate to SSH Preferences (hint: type ssh into the search box)
- Open: General -> Network Connections -> SSH2
- The first tab should be selected “General”
- Set SSH2 Home (on a Linux/Mac OS environment this is usually
/home/<username>/.sshon windows, it’s usuallyC:\Users\<username>\.ssh) - Use the “Add private key” button to add your private key(s) to eclipse
For screenshots and examples, you can check out How To Add SSH Private Keys to Eclipse.
Configure terminal
This may not be needed, but I’ve had issues on macs where the scripts which run at logon aren’t run by default (including setting python and other PATH variables). To fix this:
- Go to preferences
- Terminal -> Local Terminal
- Set “Arguments” to:
--login
Creating a new dbt project
If you don’t have existing code, then this is
- Use the button on the left-hand side “Create a project”
- select General -> Project
- Give it a name
Virtual environment & dbt
At this stage, you will need to set up the virtual environment and install dbt.
To open up a terminal in Eclipse, right-click on the project folder (on the left of the screen):
- Show in Local Terminal -> Terminal
Then use the command line as normal (which will look something like the below, depending on your operating system/configuration)
# Create virtual environment
python -m venv venv

# Start the virtual environment
source venv/bin/activate

# install dbt (for this example I'm using `dbt-sqlite`)
pip install --upgrade pip
pip install dbt-SQLite
Then use dbt to create the new project
dbt init <project name>
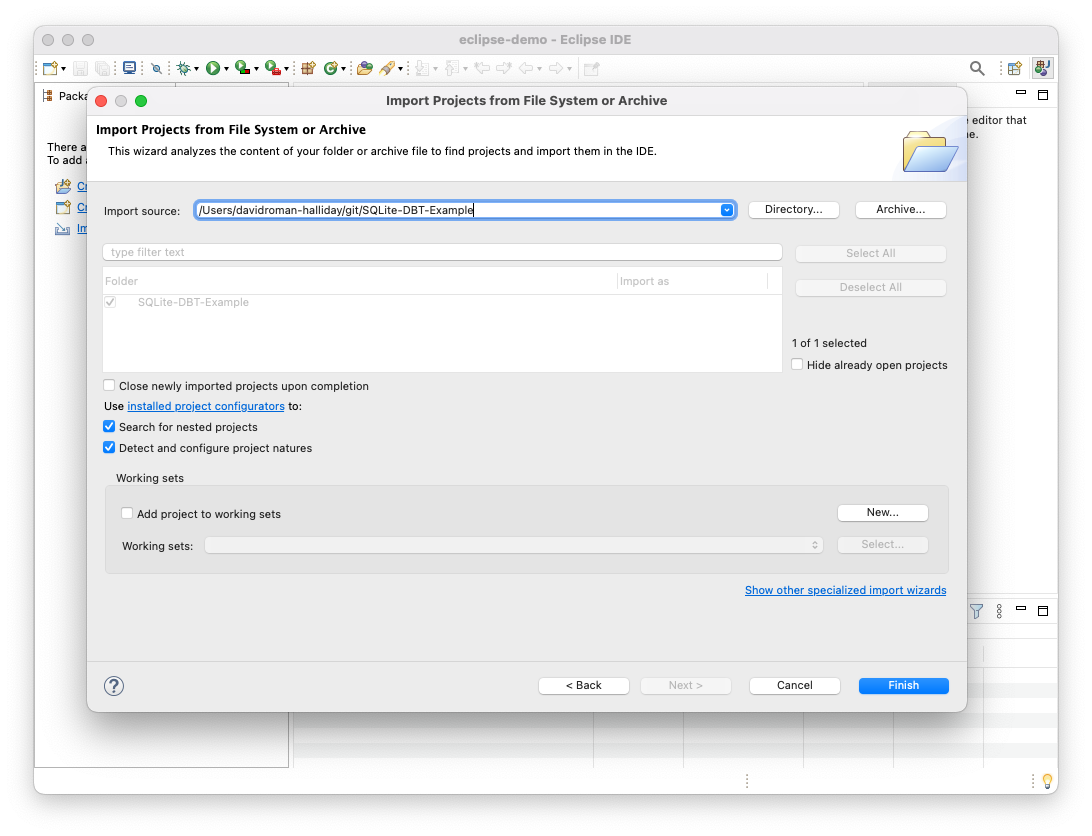
To refresh the project explorer, right-click on the project folder and select “refresh”.
Importing an existing dbt project from GitHub
If you are working with GitHub, you will need to configure ssh keys as above.

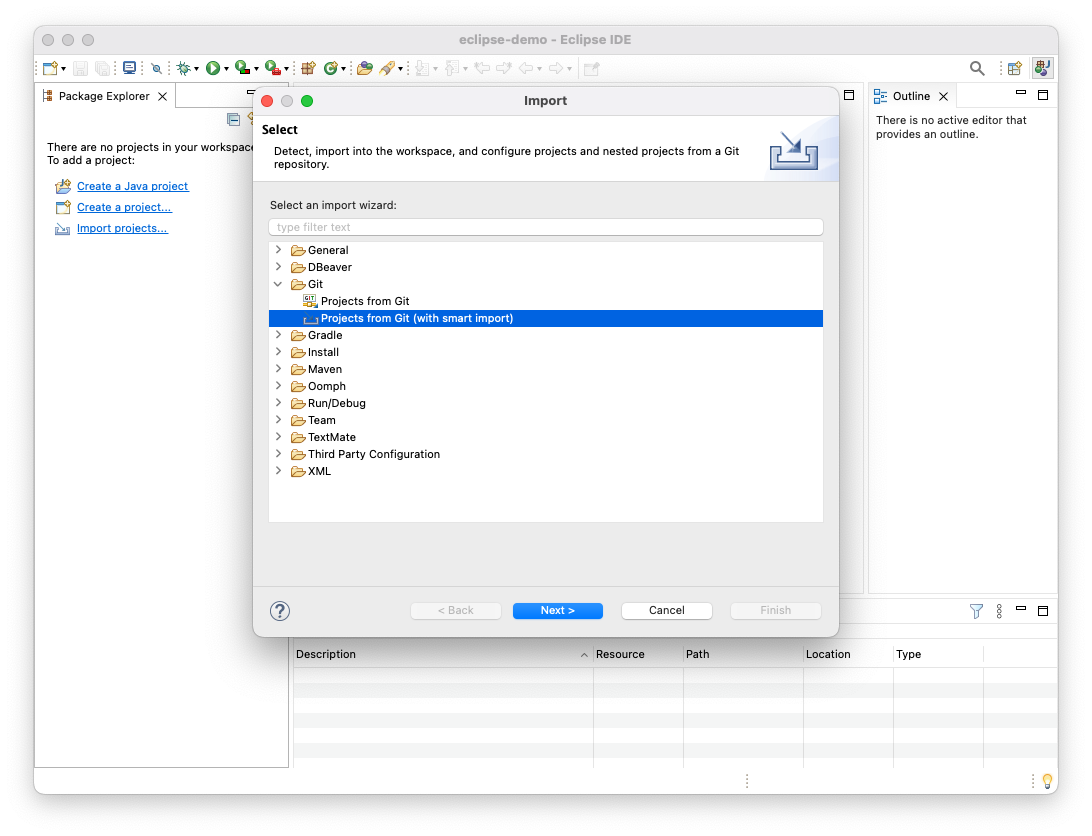
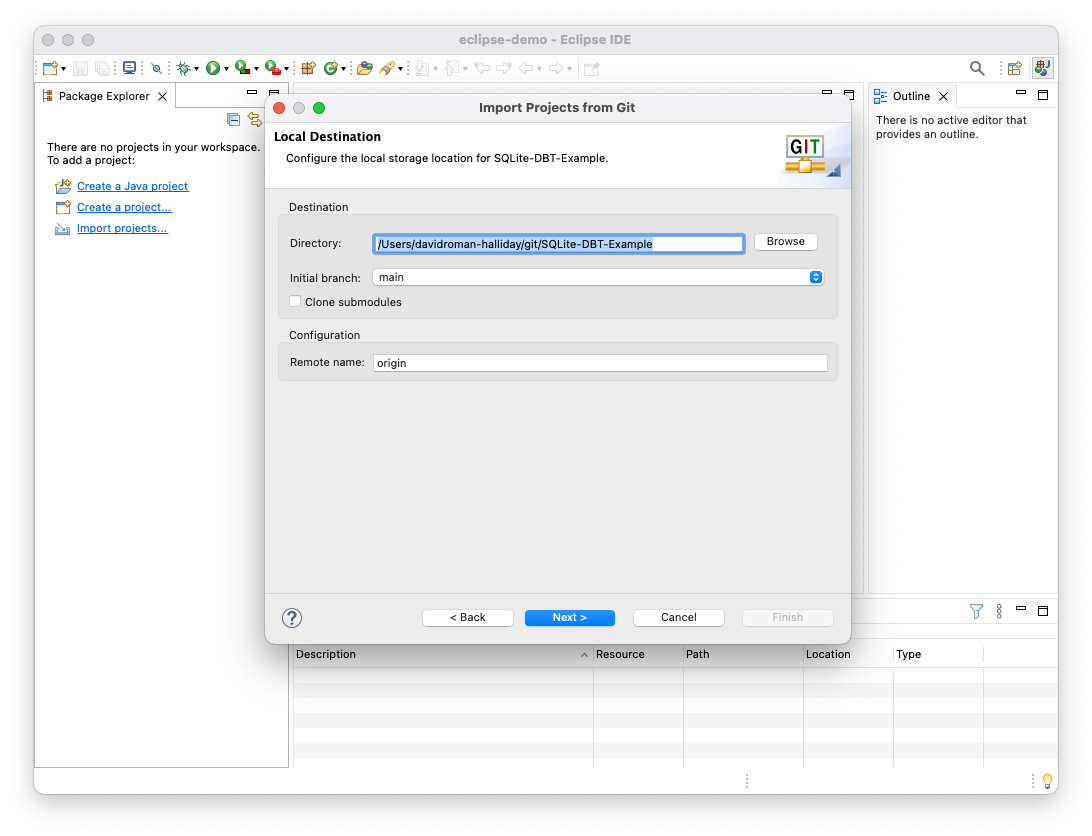


- From the project explorer on the left, select “Import projects”
- Projects from git (with smart import)
- Existing local repository – For if you already have the repository cloned to your machine
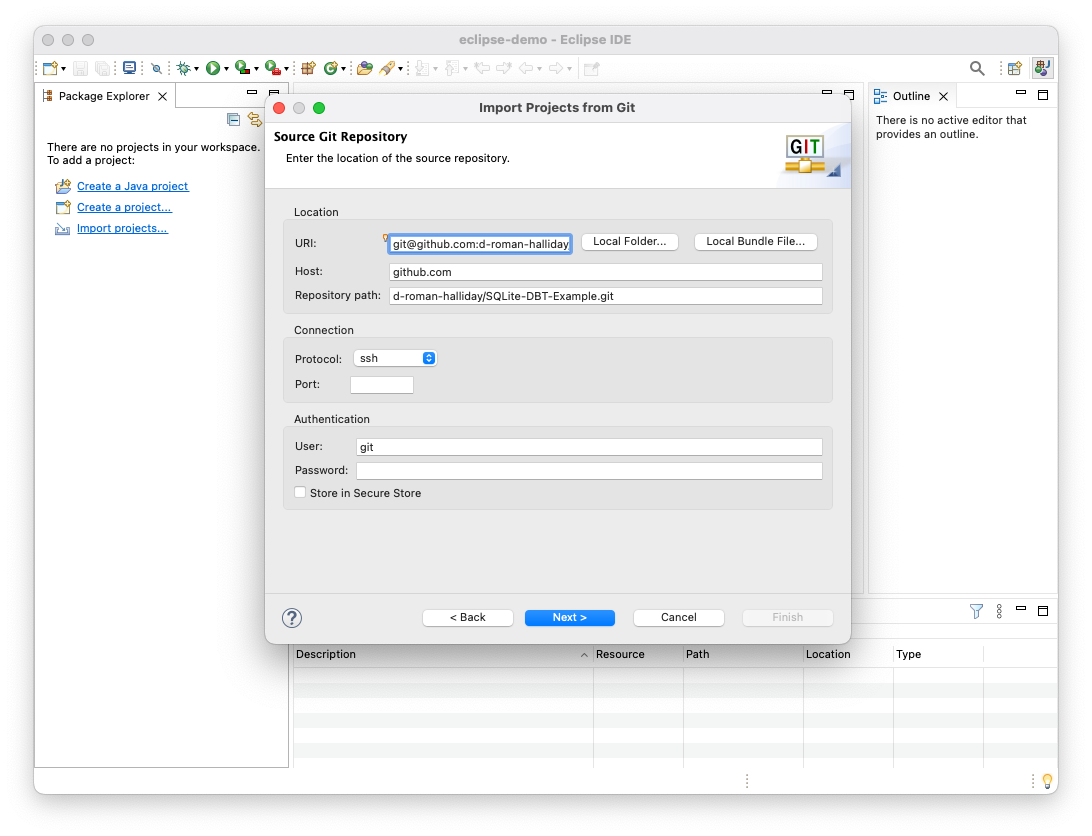
- Clone URL – For if you need to copy the URL from GitHub
- Select the local directory (by default eclipse uses one called git which is outside of the project). I find it best to select the workspace’s directory so that the files are all together.
- Select the branch you wish to check out, most likely ‘main’ (or whatever your primary branch is called)
- On the next screen, confirm any other options and hit “Finish”
You now have the project checked out.
Virtual environment & dbt
You will need to set up the virtual environment and install dbt.
To open up a terminal in Eclipse, right-click on the project folder (on the left of the screen):
- Show in Local Terminal -> Terminal
Then use the command line as normal (which will look something like the below, depending on your operating system/configuration):
# Create virtual environment
python -m venv venv

# Start the virtual environment
source venv/bin/activate

# install dbt (for this example I'm using `dbt-sqlite`)
pip install --upgrade pip
pip install dbt-SQLite
Viewing & Editing the profiles.yml
If you wish to see and edit the profiles.yml file (database connections and environment settings) in eclipse, I find the best thing to do is add a new project for it. The simplest thing to do is create a new project (you can use this for notes and other things), then have a symbolic link (mac/Linux) or shortcut (windows) to the folder for dbt configuration.
Create an empty project
- New -> Project
- General -> Project
- Project name:
DBT_config(this is what I call it, you can call it anything you like) - make sure “use default location” is ticked
- Finish
Create the link
In windows, this is the right-click -> new shortcut
In Mac/Linux, creating a symbolic link is the way to go. Make sure you are in the directory created for the new project (the previously mentioned “show in local terminal” comes in handy here). Then use this on the terminal:
ln -s ~/.dbt dot_dbt
Finally just right-click the project in Eclipse and select “refresh” and a new folder will appear containing the profiles.yml file.
Hints & tips
Using plugins
You can right-click on a file for the “open with” list to select which plugin you will use for that file.
Using the git perspective
While you can use right-click menus in eclipse for git actions, there is the git “perspective” One of the key advantages of Eclipse for me.
- Window -> Perspective -> Open Perspective -> Other
- select “git”
- Click “open”
You can now switch between the java (there isn’t a dbt one) and git perspectives using the buttons in the top right corner.
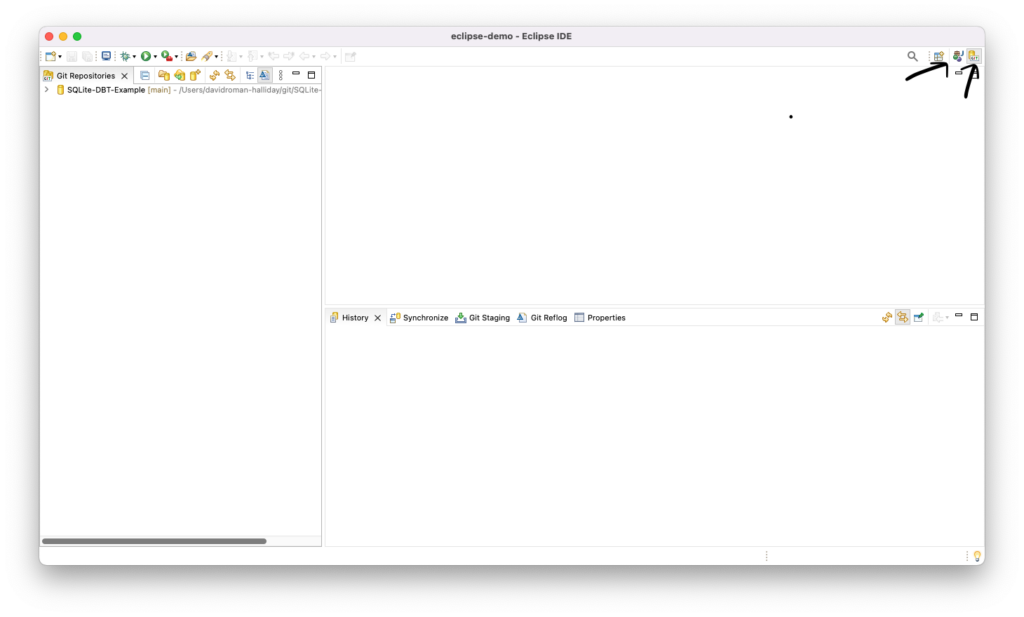
The “Git staging” tab is the handiest for looking at what has changed.